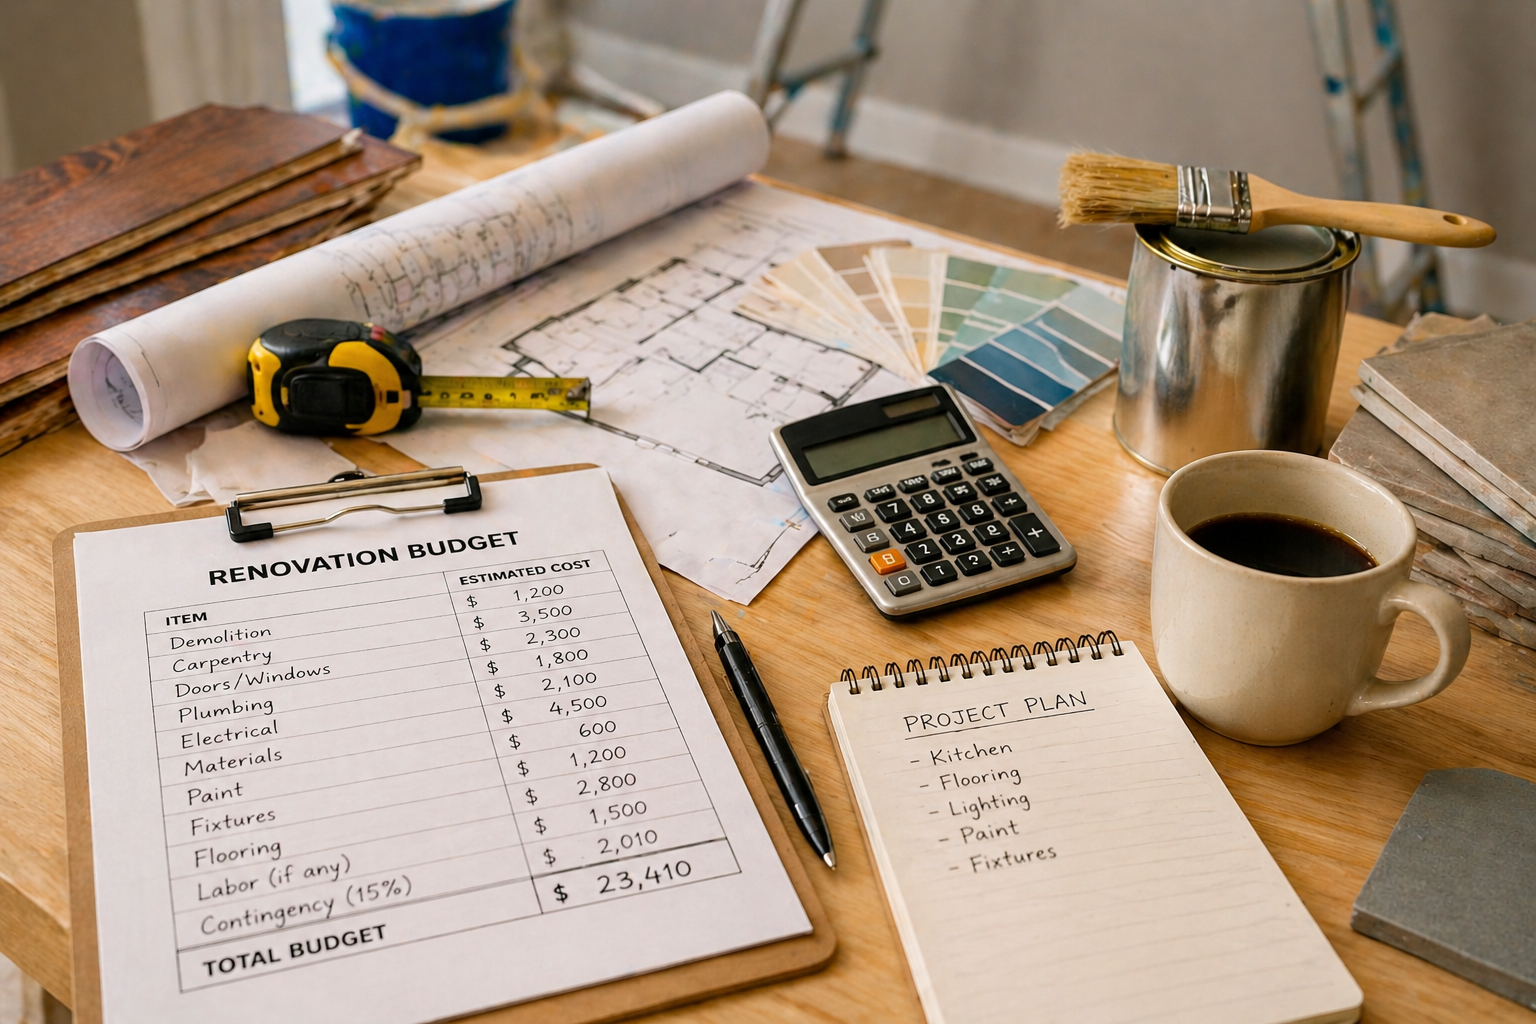
A large DIY renovation can transform your home, increase its value, and save thousands in labor costs. However, without a solid budget, even the most exciting project can quickly turn into a financial headache.
So, how do you budget properly for a large DIY renovation?
The key is planning every detail—materials, tools, timelines, and unexpected costs—before you begin. A realistic, well-structured budget keeps your project on track and prevents overspending.
In this complete guide, you’ll learn how to create a smart DIY renovation budget, avoid common financial mistakes, and stay in control from start to finish.
Why Budgeting Matters in DIY Renovations
DIY projects often start with good intentions but vague financial planning.
Without a proper budget, you may face:
- Unexpected expenses
- Project delays
- Incomplete renovations
- Financial stress
Budgeting gives you clarity. It helps you prioritize, allocate resources, and make informed decisions.
A strong plan turns a risky renovation into a controlled investment.
Step 1: Define the Full Scope of the Project
Before setting a budget, you need to clearly define what you’re doing.
Ask yourself:
- What areas are being renovated?
- What specific upgrades are needed?
- What materials will be used?
- What level of finish do you want?
Breaking the project into sections helps you estimate costs more accurately.
Example Breakdown
For a kitchen renovation:
- Cabinets
- Countertops
- Flooring
- Lighting
- Paint
- Hardware
Each category should have its own budget.
Step 2: Research Material Costs Thoroughly
Material costs make up the largest portion of most DIY budgets.
Prices can vary widely depending on:
- Quality
- Brand
- Availability
- Location
Smart Research Tips
- Compare multiple suppliers
- Look for bulk discounts
- Check seasonal sales
- Read product reviews
Always calculate the exact quantity needed and include a buffer for waste.
Most projects require an extra 10–20% of materials to account for errors or adjustments.
Step 3: Account for Tools and Equipment
Many DIY budgets overlook tool costs.
Even basic renovations may require:
- Power drills
- Saws
- Levels
- Measuring tools
- Safety gear
If you don’t already own these tools, you must include them in your budget.
Ways to Save
- Rent tools for short-term use
- Borrow from friends or family
- Buy multi-purpose tools
Tools are an investment, but they still affect your project’s total cost.
Step 4: Include Hidden Costs
Hidden costs are one of the biggest reasons DIY budgets fail.
These include:
- Delivery fees
- Permit costs
- Disposal fees
- Extra supplies (sandpaper, caulk, tape)
- Replacement materials
Even small items add up quickly.
A complete budget must include every expense, not just major materials.
Step 5: Set a Contingency Fund
No renovation goes exactly as planned.
Unexpected issues may include:
- Structural damage
- Outdated wiring
- Plumbing leaks
- Measurement errors
Set aside 10–20% of your total budget for unexpected costs.
This contingency fund prevents financial stress when surprises arise.
Step 6: Prioritize High-Impact Areas
Not all upgrades are equally important.
Focus your budget on areas that:
- Improve functionality
- Increase home value
- Enhance daily comfort
For example:
- Kitchens and bathrooms often deliver the highest return
- Structural repairs should take priority over cosmetic changes
Prioritization ensures your money is spent where it matters most.
Step 7: Plan Your Timeline Carefully
Time affects cost.
Longer projects may lead to:
- Extended tool rentals
- Additional material purchases
- Delayed completion
Create a realistic timeline that includes:
- Preparation
- Installation
- Drying or curing time
- Cleanup
Avoid rushing. Mistakes caused by speed often cost more to fix.
Step 8: Understand Material Behavior
Choosing the right materials—and using them correctly—prevents costly failures.
For example, paint issues are a common source of wasted money.
If you’ve ever wondered why finishes don’t last or look uneven, reading Why do some paints fail in DIY home projects? can help you avoid expensive repainting and improve your results.
Understanding materials saves both time and money.
Step 9: Track Every Expense
Budgeting isn’t a one-time task. It’s an ongoing process.
Keep track of:
- Receipts
- Purchases
- Remaining budget
- Unexpected costs
Use a spreadsheet or budgeting app to stay organized.
Regular tracking helps you adjust before overspending becomes a problem.
Step 10: Avoid Scope Creep
Scope creep happens when your project expands beyond the original plan.
For example:
- Adding new features mid-project
- Upgrading materials unexpectedly
- Changing designs halfway through
These changes increase costs quickly.
Stick to your original plan unless adjustments are necessary.
Step 11: Balance Quality and Cost
Cheaper materials may save money upfront but cost more long term.
Low-quality products can:
- Wear out quickly
- Require replacement
- Reduce overall value
Invest in quality where it matters most:
- Structural components
- High-use surfaces
- Durable finishes
Balancing cost and quality ensures long-term savings.
Step 12: Know When to Hire a Professional
DIY doesn’t mean doing everything yourself.
Certain tasks may require professional help, including:
- Electrical work
- Plumbing modifications
- Structural changes
Hiring a professional for complex work can prevent costly mistakes.
Budget for these services when necessary.
Step 13: Plan for Cleanup and Finishing
Many DIY budgets forget about the final stage.
Cleanup costs may include:
- Waste removal
- Cleaning supplies
- Final touch-ups
Finishing touches—such as trim, paint corrections, and adjustments—also require time and money.
Include these steps in your budget to avoid last-minute expenses.
Step 14: Use Phased Budgeting for Large Projects
For large renovations, consider breaking the project into phases.
Benefits of Phased Budgeting
- Reduces financial pressure
- Allows adjustments between phases
- Improves project management
For example:
Phase 1: Structural repairs
Phase 2: Core installations
Phase 3: Finishing touches
This approach keeps your budget manageable.
Step 15: Learn From Past Projects
If you’ve completed DIY projects before, review them.
Ask yourself:
- Where did I overspend?
- What surprised me?
- What would I do differently?
Learning from experience improves future budgeting accuracy.
Common Budgeting Mistakes to Avoid
Avoid these pitfalls:
- Underestimating material quantities
- Ignoring hidden costs
- Skipping contingency funds
- Rushing the project
- Changing plans frequently
Awareness helps you avoid costly errors.
Final Thoughts
So, how do you budget properly for a large DIY renovation?
By planning thoroughly, tracking expenses, and preparing for the unexpected.
A successful DIY budget includes:
- Clear project scope
- Accurate material estimates
- Tool costs
- Hidden expenses
- Contingency funds
Budgeting isn’t about limiting your project—it’s about controlling it.
With the right strategy, you can complete your renovation confidently, avoid financial stress, and achieve results that truly improve your home.
DIY success starts with smart planning—and a budget that works as hard as you do.