Painting seems simple. Open a can, grab a brush, and transform a space. However, many DIYers quickly discover that paint doesn’t always behave as expected. Instead of smooth, durable finishes, they end up with peeling, bubbling, streaking, or cracking surfaces.
So why do some paints fail in DIY home projects?
Paint failure usually results from poor surface preparation, incorrect product selection, environmental conditions, improper application techniques, or inadequate drying time. While paint itself matters, success depends more on how you use it.
In this in-depth guide, you’ll learn exactly why paint fails, how to prevent common mistakes, and how to achieve professional-looking results every time.
What Paint Failure Actually Looks Like
Before fixing the problem, you need to recognize it.
Common signs of paint failure include:
- Peeling or flaking
- Bubbling or blistering
- Cracking or alligatoring
- Uneven coverage
- Streaks or roller marks
- Fading or discoloration
Each issue points to a specific cause. Understanding those causes is the key to prevention.
1. Poor Surface Preparation
The number one reason paint fails is poor preparation.
Paint needs a clean, smooth, and stable surface to bond properly. Skipping prep steps almost guarantees problems.
Common Prep Mistakes
- Painting over dirt or grease
- Skipping sanding
- Ignoring cracks or holes
- Painting over glossy surfaces without scuffing
- Not removing old peeling paint
Why It Matters
Paint adheres to the surface beneath it—not just the previous coat. If that surface is unstable, the paint will eventually fail.
How to Fix It
- Clean surfaces thoroughly
- Sand rough or glossy areas
- Fill holes and cracks
- Remove loose or peeling paint
Preparation takes time, but it determines the final result.
2. Using the Wrong Type of Paint
Not all paints are the same.
Choosing the wrong type of paint for a surface or environment leads to failure.
Common Paint Selection Errors
- Using interior paint outdoors
- Using flat paint in high-moisture areas
- Using low-quality paint on high-traffic surfaces
- Ignoring surface compatibility
Why It Matters
Different paints are designed for specific conditions. For example:
- Exterior paint resists weather and UV exposure
- Bathroom paint resists moisture and mold
- High-gloss paint handles cleaning and wear
Using the wrong product weakens durability.
3. Skipping Primer
Primer is often overlooked, but it plays a critical role.
What Primer Does
- Improves adhesion
- Blocks stains
- Creates a uniform surface
- Enhances paint durability
When Primer Is Essential
- Painting over dark colors
- Painting new drywall
- Covering stains
- Switching between paint types
Skipping primer can lead to uneven coverage, peeling, and poor color results.
4. Environmental Conditions
Weather and indoor conditions significantly affect paint performance.
Temperature Problems
- Too hot: paint dries too quickly
- Too cold: paint doesn’t cure properly
Humidity Issues
- High humidity: slows drying, causes streaking
- Low humidity: causes uneven drying
Airflow Factors
- Poor ventilation traps moisture
- Strong airflow can cause uneven drying
Ideal conditions:
- 60°F–80°F temperature
- Moderate humidity
- Proper ventilation
Ignoring these factors leads to visible imperfections.
5. Applying Paint Too Thick or Too Thin
Application technique matters just as much as preparation.
Thick Application Problems
- Drips and runs
- Slow drying
- Uneven texture
Thin Application Problems
- Poor coverage
- Streaking
- Multiple unnecessary coats
Best Practice
Apply multiple thin, even coats rather than one thick coat. This ensures better adhesion and a smoother finish.
6. Rushing the Process
DIYers often rush to finish projects quickly.
However, paint requires time at every stage:
- Drying time between coats
- Curing time after application
- Prep time before painting
Skipping drying time leads to:
- Smudging
- Peeling
- Uneven finishes
Patience is essential for long-lasting results.
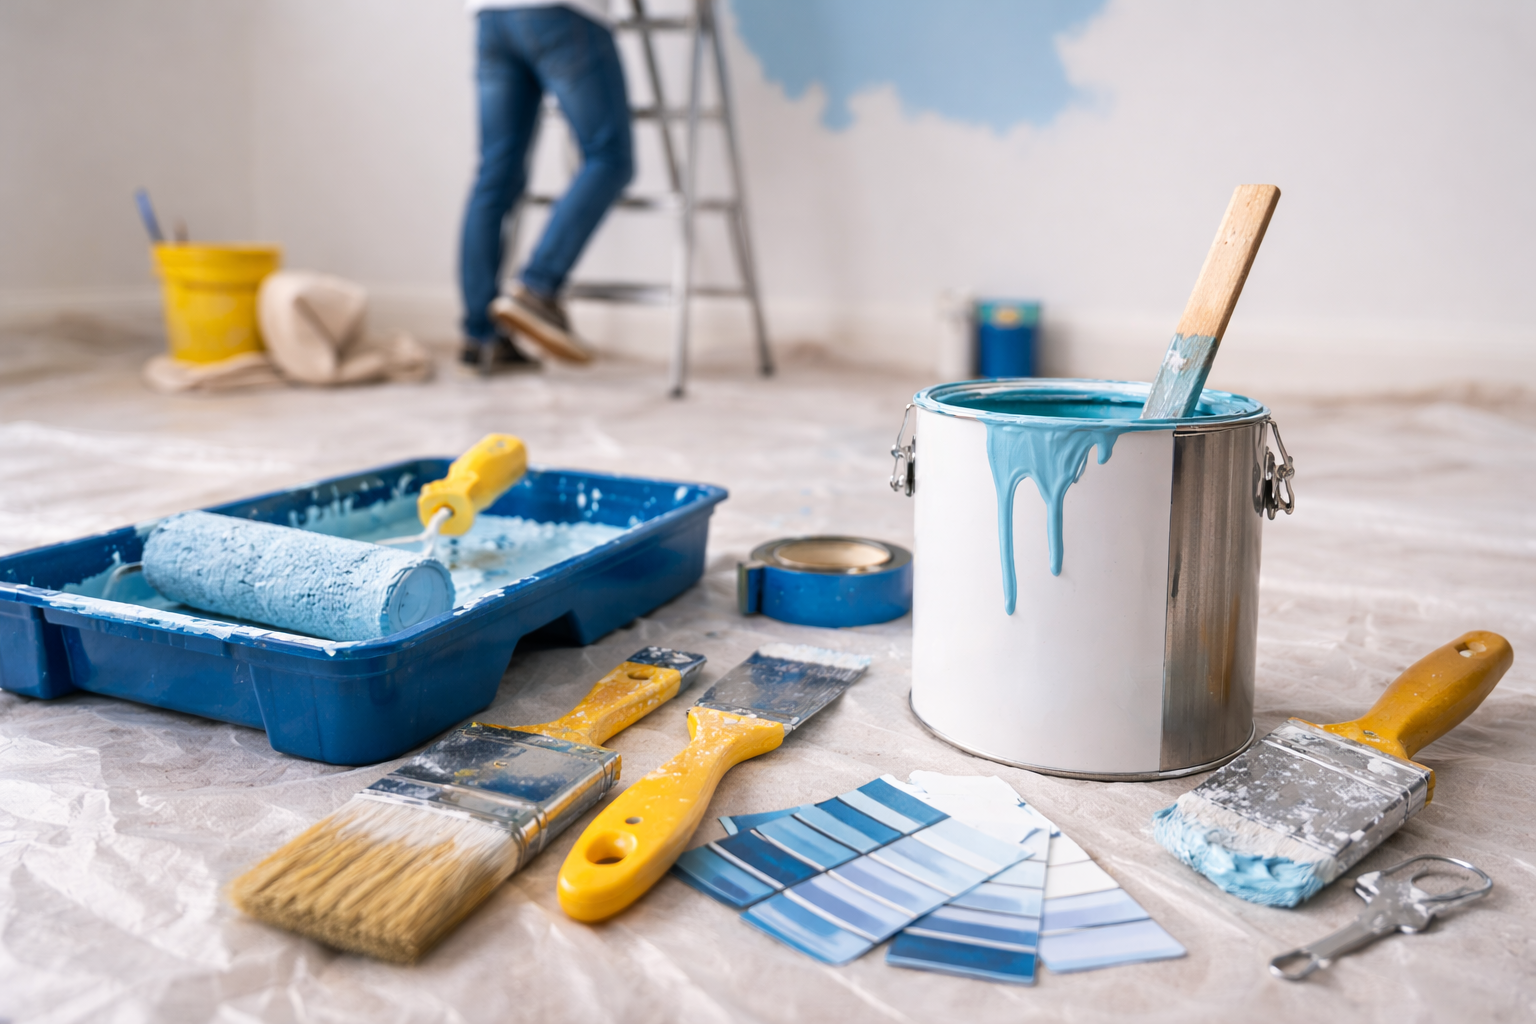
7. Low-Quality Tools
Even the best paint can fail with poor tools.
Cheap brushes and rollers can cause:
- Uneven coverage
- Visible streaks
- Shedding fibers
- Inconsistent texture
Investing in quality tools improves application and reduces frustration.
If you’re unsure where to start, learning What tools should every first-time DIYer own? can help you build a reliable toolkit that supports better results.
8. Painting Over Dirty or Oily Surfaces
Walls may look clean but often contain invisible contaminants.
Common issues include:
- Cooking grease in kitchens
- Soap residue in bathrooms
- Dust buildup
- Handprints and oils
These contaminants prevent proper adhesion.
Solution
Use appropriate cleaning solutions:
- Mild detergent for general cleaning
- Degreasers for kitchens
- TSP (trisodium phosphate) for heavy buildup
Clean surfaces ensure paint bonds correctly.
9. Ignoring Surface Compatibility
Different surfaces require different preparation and paint types.
Examples include:
- Wood requires sanding and sealing
- Metal requires rust protection
- Drywall requires priming
- Masonry requires breathable paint
Applying paint without considering the surface leads to premature failure.
10. Not Mixing Paint Properly
Paint must be mixed thoroughly before use.
Failure to mix paint can cause:
- Color inconsistencies
- Uneven texture
- Poor coverage
Even pre-mixed paint needs stirring.
This simple step ensures uniform results.
11. Using Old or Expired Paint
Paint doesn’t last forever.
Old paint may:
- Separate
- Lose adhesion properties
- Develop unpleasant odors
- Produce inconsistent finishes
Always check:
- Expiration date
- Texture and consistency
- Smell
Using fresh paint improves performance and reliability.
12. Skipping Sanding Between Coats
Sanding between coats improves smoothness and adhesion.
Skipping this step can result in:
- Rough surfaces
- Poor bonding between layers
- Visible imperfections
Light sanding creates a professional finish.
13. Overworking the Paint
Many DIYers go over the same area repeatedly.
This can cause:
- Uneven texture
- Streaks
- Patchy finishes
Once paint begins to dry, avoid reworking it.
Apply smoothly and move on.
14. Ignoring Manufacturer Instructions
Every paint product comes with specific guidelines.
These include:
- Application methods
- Drying times
- Temperature ranges
- Surface preparation steps
Ignoring instructions increases the risk of failure.
Always follow manufacturer recommendations.
15. Lack of Experience
Experience improves technique.
Beginners may struggle with:
- Even brush strokes
- Consistent pressure
- Proper coverage
- Timing between coats
Practice improves results over time.
Start with smaller projects before tackling larger spaces.
How to Prevent Paint Failure
To avoid common issues, follow these steps:
- Prepare surfaces thoroughly
- Choose the right paint
- Use primer when needed
- Apply thin, even coats
- Allow proper drying time
- Use quality tools
- Work in ideal conditions
- Follow instructions carefully
Consistency and patience lead to professional results.
Final Thoughts
So why do some paints fail in DIY home projects?
Paint failure isn’t usually caused by the paint itself—it’s caused by preparation mistakes, poor technique, or environmental factors.
By understanding these causes, you can avoid common pitfalls and achieve smooth, durable finishes.
Painting may seem simple, but it requires attention to detail and proper execution.
With the right approach, your DIY paint projects can look professional, last longer, and deliver the results you expect.