If you’ve ever scrolled through social media and thought, “Why doesn’t my project look like that?”, you’re not alone. Two people can follow the same tutorial, use similar materials, and invest the same amount of time—yet one result looks magazine-worthy while the other looks… homemade.
So why do some DIY projects look professional while others don’t?
The answer comes down to planning, precision, material quality, technique, patience, and attention to detail. Professional-looking results are rarely accidental. They reflect skill, preparation, and disciplined execution—not luck.
In this in-depth guide, we’ll break down exactly what separates polished DIY projects from amateur-looking ones. Whether you’re upgrading cabinets, building furniture, or repainting a room, these principles will help elevate your results.
1. Planning vs. Improvising
One of the biggest differences between professional-looking DIY work and rushed results is planning.
Professionals don’t “wing it.” They:
- Measure twice (sometimes three times)
- Sketch layouts
- Test samples
- Budget accurately
- Schedule tasks in logical order
Many DIYers skip this phase. They jump straight into cutting, painting, or assembling without a clear roadmap.
Why Planning Matters
Planning reduces mistakes. Mistakes create visible flaws—misaligned seams, uneven spacing, inconsistent finishes.
Before starting any project, ask yourself:
- What tools do I need?
- Are my materials appropriate for this surface?
- Do I understand each step?
- What could go wrong?
A written checklist dramatically improves outcomes. It transforms guesswork into execution.
2. Measurement Precision
Professional results start with accurate measurements.
Uneven shelves, crooked cabinets, or mismatched trim instantly signal “DIY.” Small gaps compound into obvious imperfections.
Common measurement mistakes include:
- Not accounting for wall irregularities
- Ignoring expansion space for wood
- Relying on visual alignment instead of a level
- Using worn-out measuring tools
Invest in quality measuring equipment:
- Laser level
- Framing square
- Digital calipers (for precision work)
Professionals obsess over millimeters because small differences create big visual effects.
3. Material Quality
Another reason some DIY projects look professional while others don’t is material selection.
Cheap materials show.
Low-grade plywood splinters.
Budget paint streaks.
Weak hinges sag.
Thin laminate chips.
That doesn’t mean you must overspend. However, professionals know where to invest strategically.
Where Quality Matters Most
- Paint and primer
- Hardware (hinges, handles, screws)
- Structural lumber
- Adhesives
- Finishing sealants
Better materials produce smoother finishes, stronger durability, and more refined edges.
4. Surface Preparation
Ask any contractor: preparation determines results.
Many DIY failures stem from skipping preparation.
Before painting:
- Clean thoroughly
- Sand properly
- Prime appropriately
Before installing tile:
- Ensure level surfaces
- Apply correct underlayment
- Use consistent spacing
Before assembling wood:
- Dry-fit pieces
- Pre-drill holes
- Check alignment
Preparation accounts for up to 70% of the visual outcome. Professionals spend more time prepping than finishing.
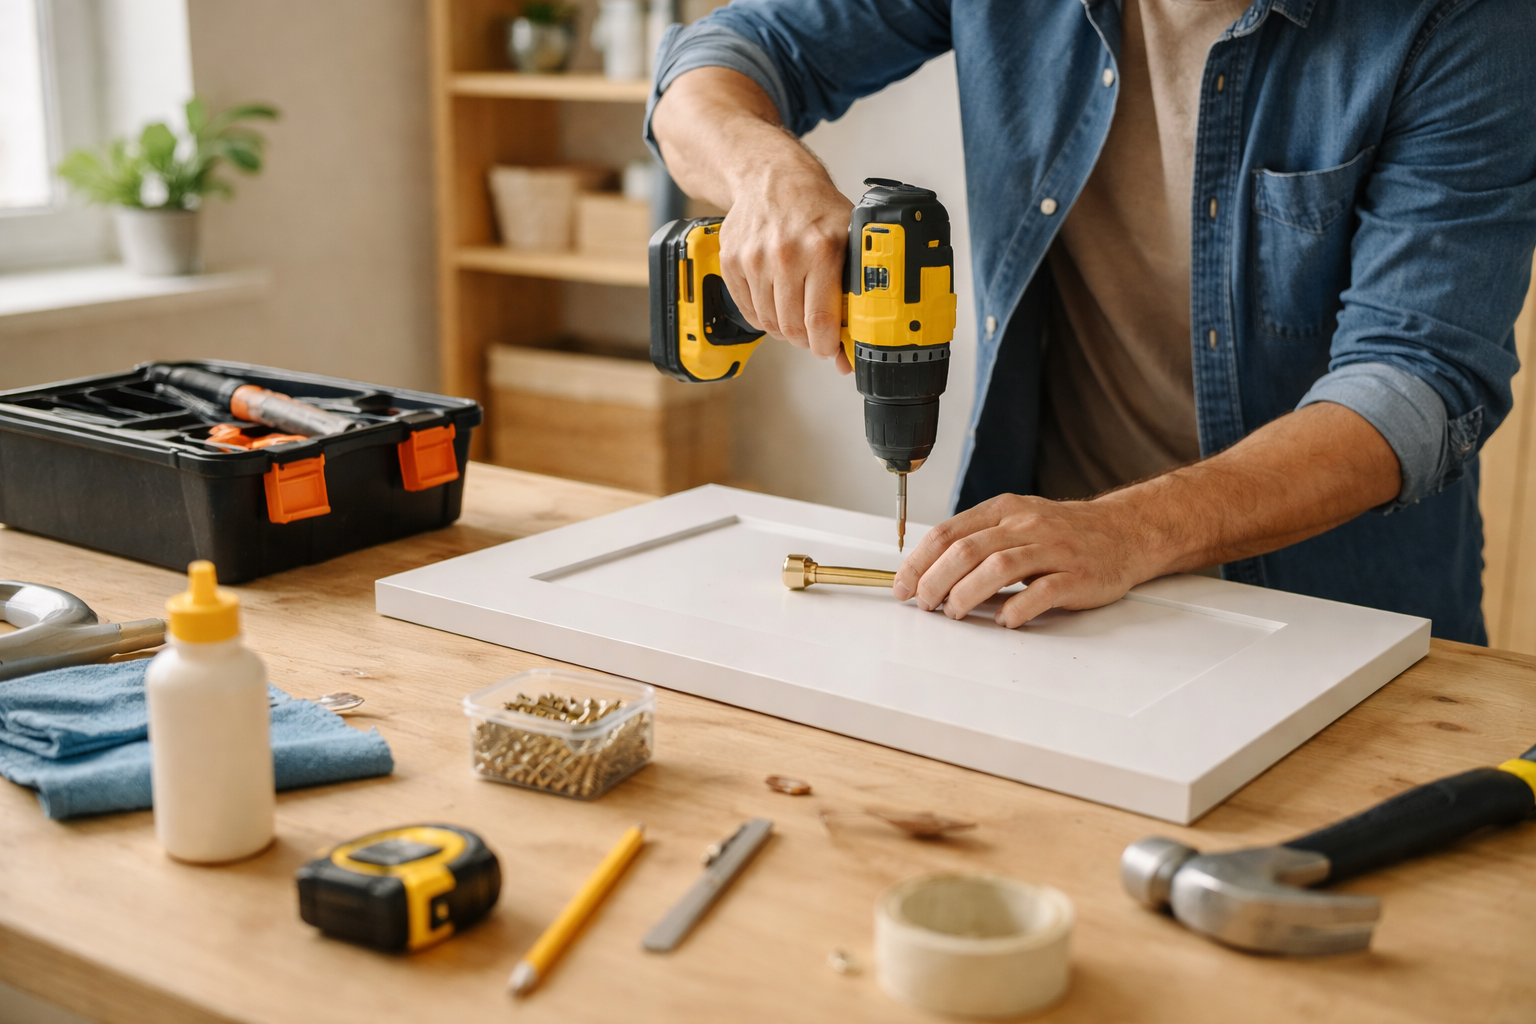
5. Tool Mastery
Even the best materials won’t compensate for poor tool technique.
Professional-looking DIY requires understanding:
- Correct drill speed
- Proper brush strokes
- Sanding pressure
- Saw blade alignment
- Torque control
Many DIYers rush tool learning. They treat tools as simple devices rather than precision instruments.
Spend time practicing on scrap materials. Test cuts. Test paint strokes. Test finishes.
Mastery builds confidence—and confidence improves results.
6. Patience and Timing
Impatience is the enemy of professional results.
Rushing drying times leads to:
- Peeling paint
- Smudges
- Uneven coatings
- Warping
Rushing assembly causes:
- Crooked frames
- Gaps
- Structural weakness
Professionals understand curing times. They wait. They sand between coats. They apply thin, even layers.
DIY success rewards patience.
7. Attention to Detail
Details separate average from professional.
Examples of overlooked details:
- Filling nail holes
- Caulking seams
- Sanding rough edges
- Aligning hardware
- Cleaning excess adhesive
Small finishing touches dramatically elevate perception.
Consider this: viewers may not notice perfect work, but they always notice flaws.
Professional projects often appear “effortless” because flaws were eliminated before completion.
8. Design Consistency
A polished DIY project follows cohesive design principles.
Common amateur mistakes include:
- Mixing incompatible styles
- Using mismatched hardware finishes
- Choosing incorrect scale
- Ignoring spacing proportions
Professionals maintain visual harmony by:
- Matching hardware tones
- Maintaining consistent margins
- Using proportional dimensions
- Repeating patterns intentionally
Design consistency creates visual balance. Balance feels professional.
9. Lighting and Photography Illusion
Sometimes the difference isn’t craftsmanship—it’s presentation.
Professional projects are often photographed:
- In natural light
- With styled decor
- From flattering angles
- After staging adjustments
Your project might look better than you think.
However, lighting also reveals imperfections. Inspect your work under strong light to catch flaws before finishing.
10. Experience and Repetition
Professional-looking DIY doesn’t happen overnight.
Experience teaches:
- How materials behave
- Which mistakes to avoid
- Efficient workflows
- Surface correction techniques
Each project builds muscle memory and technical awareness.
Your early attempts may not look perfect—but repetition creates refinement.
11. Confidence and Mental State
There’s also a psychological component.
Stress leads to rushed decisions. Doubt leads to second-guessing. Frustration leads to shortcuts.
A calm mindset improves execution.
Interestingly, engaging in hands-on projects can improve mental clarity and reduce anxiety. If you’re curious about the psychological impact, explore Is DIY good for your mental health? to understand how mindset affects results.
A focused, confident DIYer produces cleaner work than an overwhelmed one.
12. Realistic Expectations
Professionals have realistic standards.
DIYers sometimes expect perfection without experience.
Instead, aim for:
- Clean lines
- Structural integrity
- Smooth finishes
- Functional performance
Perfection isn’t required—but consistency is.
13. Learning from Professionals
High-quality DIYers study professional practices.
Ways to improve:
- Watch contractor tutorials
- Read manufacturer guidelines
- Study woodworking joints
- Analyze finishing techniques
- Practice scrap material mock-ups
The more you understand professional standards, the closer your results will resemble them.
14. Safety and Structural Integrity
Professional projects don’t just look good—they are built correctly.
Structural shortcuts lead to:
- Sagging shelves
- Weak frames
- Loose tiles
- Safety hazards
Professional results require:
- Proper load calculations
- Anchoring into studs
- Correct fasteners
- Secure mounting
Never sacrifice structural quality for appearance.
15. Quick Checklist for Professional-Looking DIY
Before finishing your next project, review this checklist:
- Did I measure accurately?
- Did I prep surfaces properly?
- Did I use quality materials?
- Did I allow proper drying time?
- Did I inspect under strong lighting?
- Did I correct small flaws?
- Is the design cohesive?
If you can answer “yes” to each, your project is likely to look professional.
Final Thoughts
So, why do some DIY projects look professional while others don’t?
Because professional-looking DIY isn’t accidental. It’s intentional.
It comes from:
- Careful planning
- Accurate measurements
- Quality materials
- Proper preparation
- Tool mastery
- Patience
- Attention to detail
- Consistent design
- Mental clarity
The gap between amateur and professional isn’t talent—it’s discipline.
Every polished DIY result reflects invisible hours of prep, correction, and refinement.
And here’s the encouraging truth: those skills are learnable.
With practice, research, and patience, your projects can absolutely look professional.
The difference isn’t magic—it’s method.