DIY projects are often promoted as a great way to save money. Many homeowners start projects believing they’ll spend far less than hiring a contractor. However, many people quickly discover that DIY costs can spiral beyond the original budget.
So why do DIY projects sometimes cost more than expected?
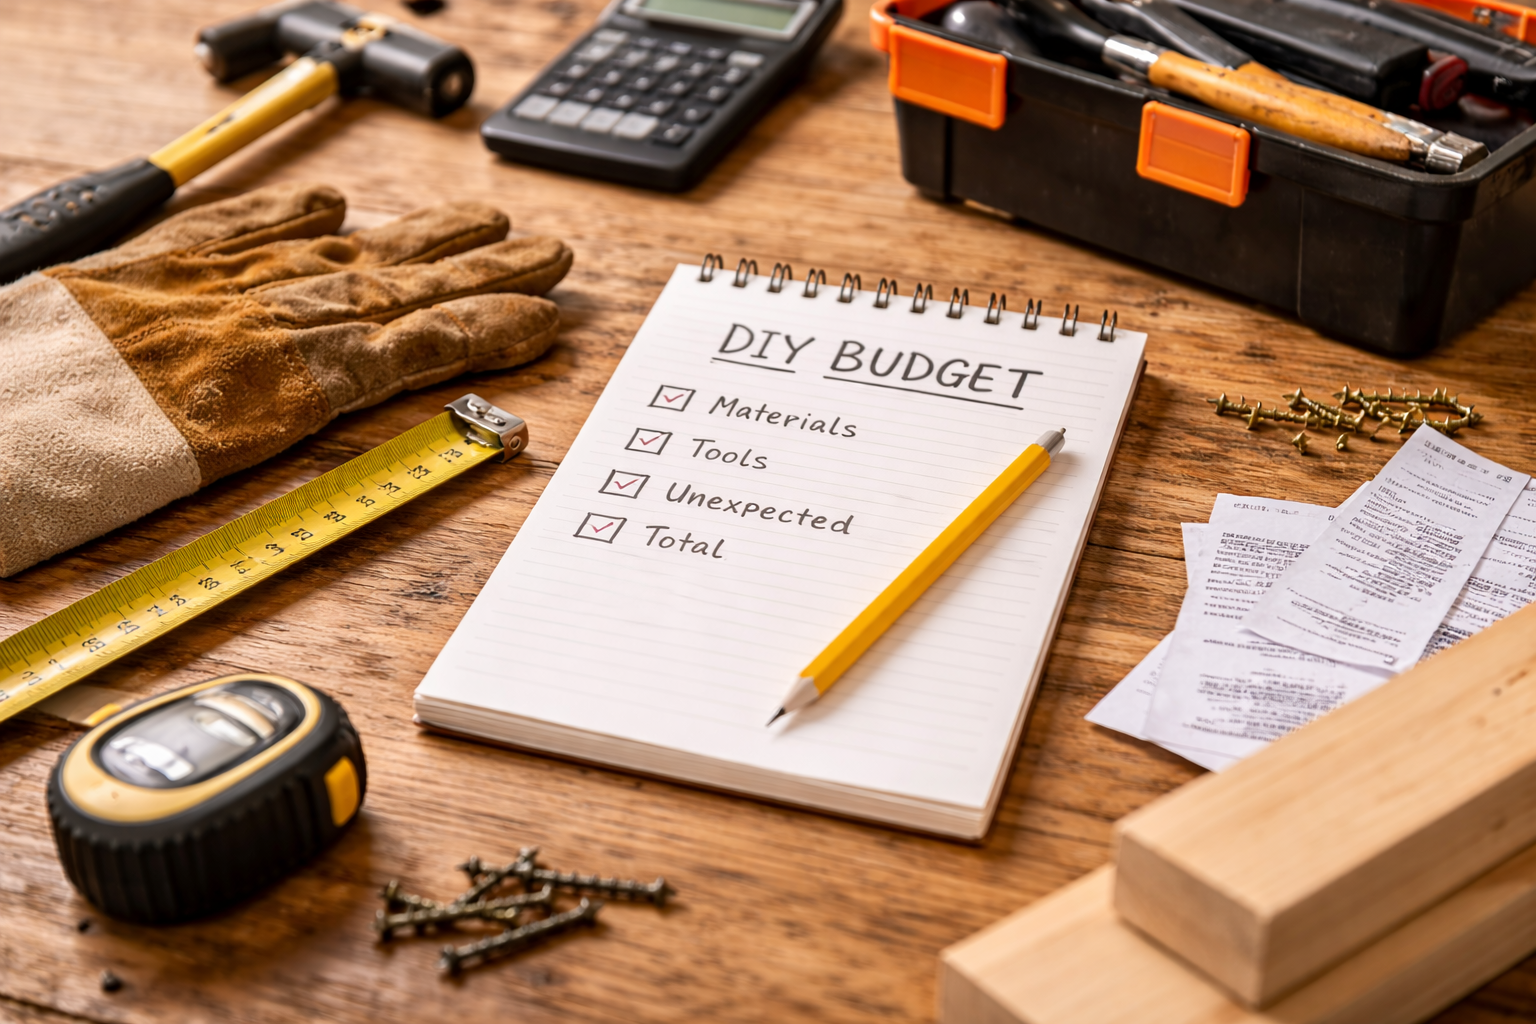
The answer lies in several factors: underestimated materials, unexpected repairs, tool purchases, project mistakes, time delays, and changing design choices. While DIY can absolutely save money when done correctly, the reality is that hidden expenses often appear during the process.
In this detailed guide, we’ll explore the most common reasons DIY projects exceed their budgets and how you can plan smarter to avoid costly surprises.
The Myth of Cheap DIY Projects
DIY culture often highlights dramatic transformations with minimal costs. You may see headlines like:
- “$200 kitchen makeover”
- “$50 bathroom upgrade”
- “$100 patio transformation”
While these examples exist, they usually don’t tell the whole story. They may exclude:
- Tool costs
- Labor time
- Material upgrades
- Mistakes or corrections
In reality, many DIY projects cost more than expected because the original estimate didn’t account for all the variables involved.
Underestimating Material Costs
One of the biggest reasons DIY projects exceed budgets is inaccurate material estimation.
Beginners often underestimate how much material they need. Common miscalculations include:
- Not accounting for waste
- Forgetting extra supplies
- Misjudging surface area
- Ignoring shipping costs
For example, flooring projects typically require purchasing 10–15% extra material for cutting errors and damaged pieces. Without that buffer, you may need to buy more materials later—often at higher prices.
Similarly, paint projects may require additional coats depending on wall condition, dramatically increasing the total paint required.
Buying Tools You Didn’t Plan For
Many DIY guides assume you already own tools. In reality, beginners often need to buy them.
Tool purchases can significantly increase costs. For example:
- Power drill: $80–$200
- Circular saw: $100–$300
- Stud finder: $30–$100
- Laser level: $50–$200
- Safety equipment: $30–$100
A project originally estimated at $150 in materials may quickly become $500 after tool purchases.
While tools are long-term investments, they still increase the immediate project cost.
Mistakes and Rework
Even experienced DIYers make mistakes. Beginners naturally make more.
Mistakes can require purchasing replacement materials, including:
- Extra wood or trim
- Additional tiles
- Replacement hardware
- More paint or stain
Cutting a board incorrectly or drilling in the wrong place may mean starting that component again. These small errors can compound over time.
Professional contractors build error margins into their work. DIY beginners often don’t.
Hidden Structural Problems
Sometimes DIY projects uncover issues that weren’t visible initially.
Examples include:
- Water damage behind drywall
- Mold inside walls
- Rotting wood framing
- Faulty wiring
- Plumbing leaks
These discoveries force homeowners to address repairs before continuing the project.
While these repairs improve the home’s safety and value, they can dramatically increase the cost beyond the original DIY plan.
Scope Creep
Scope creep occurs when a project grows larger than originally planned.
For example:
You start by replacing cabinet handles. Then you decide the cabinets need repainting. Next, you upgrade the backsplash. Soon you’re replacing countertops.
This expanding scope adds additional costs at every stage.
DIY projects often evolve because once you start improving one area, other outdated features become more noticeable.
Choosing Better Materials Mid-Project
Another common reason costs increase is material upgrades during the process.
You might begin with budget materials but later decide to switch to higher-quality options.
Examples include upgrading from:
- Laminate to quartz countertops
- Budget tile to designer tile
- Basic paint to premium paint
- Standard hardware to decorative hardware
While these upgrades may improve the final result, they also raise the project’s cost.
Not Accounting for Finishing Supplies
Many DIY budgets focus on primary materials but overlook finishing supplies.
These include:
- Sandpaper
- Caulk
- Sealant
- Primer
- Drop cloths
- Paint rollers
- Adhesives
Individually, these items seem inexpensive. However, together they can add $50–$200 to a project.
Professional-quality finishes require preparation materials, not just the primary product.
Time Costs and Delays
While DIY labor may feel “free,” time still has value.
Projects often take longer than expected due to:
- Learning curves
- Tool adjustments
- Drying times
- Scheduling conflicts
Extended timelines can lead to additional expenses such as:
- Renting tools longer
- Purchasing extra materials
- Reordering discontinued items
Planning realistic timelines can reduce these surprises.
Permit and Inspection Requirements
Certain home improvement projects require permits or inspections.
Common examples include:
- Electrical work
- Plumbing modifications
- Structural changes
- Deck construction
Permit fees vary by location but can add several hundred dollars to a project.
Skipping permits may seem like a shortcut, but it can create problems during home inspections or resale.
Delivery and Transportation Costs
Large materials often include delivery fees.
Examples include:
- Lumber delivery
- Appliance shipping
- Tile pallets
- Furniture components
Transportation costs can also add up if you make multiple trips to the store.
Fuel, rental trucks, and delivery services are often overlooked when calculating project budgets.
Disposal and Cleanup Costs
DIY projects generate waste materials.
These may include:
- Old flooring
- Broken tile
- Packaging materials
- Construction debris
You may need to rent a dumpster, hire junk removal services, or pay disposal fees.
Cleanup costs are rarely included in initial DIY budgets but are unavoidable in many projects.
Unexpected Compatibility Issues
Sometimes materials or components don’t work together as planned.
For example:
- Cabinet hardware may not fit existing holes
- Replacement fixtures may require new mounting brackets
- Flooring may need additional underlayment
These compatibility issues force additional purchases.
Researching product compatibility beforehand can prevent these costly surprises.
Overconfidence in Skill Level
Another factor that drives up costs is underestimating the skill required for certain tasks.
Complex projects such as tile installation, cabinetry, or flooring require precision and experience.
If a DIYer attempts a task beyond their skill level, the result may require correction by a professional later—effectively doubling the cost.
Understanding your skill limits can prevent expensive mistakes.
The Role of Research in Budget Control
Thorough research is the best defense against unexpected DIY costs.
Before starting any project, consider:
- Watching multiple tutorials
- Reading product manuals
- Comparing material prices
- Estimating waste factors
- Planning tool requirements
Preparation dramatically reduces financial surprises.
When DIY Actually Saves Money
Despite these challenges, DIY can still provide significant savings when approached strategically.
Projects that often deliver strong value include:
- Painting
- Landscaping improvements
- Cabinet hardware updates
- Lighting fixture replacement
- Minor cosmetic upgrades
These projects require fewer specialized tools and lower risk.
They also provide visible improvements that enhance home appeal.
If you’re considering how DIY improvements affect property value, it’s worth exploring Can DIY projects actually increase home resale value? to understand how certain upgrades influence buyer perception.
Smart Budgeting Tips for DIY Projects
To keep DIY costs under control, follow these budgeting strategies:
1. Add a contingency buffer
Budget an extra 10–20% for unexpected costs.
2. Create a detailed materials list
Include every item needed—from screws to sandpaper.
3. Borrow or rent tools
Tool rentals can significantly reduce upfront expenses.
4. Start with smaller projects
Gain experience before tackling complex renovations.
5. Compare suppliers
Different stores may offer large price differences on the same materials.
Final Thoughts
So why do DIY projects sometimes cost more than expected?
Because the true cost of DIY includes far more than basic materials. Tools, mistakes, upgrades, hidden repairs, and project expansion all contribute to higher expenses.
However, with proper planning, realistic budgeting, and careful research, DIY projects can still provide significant value and satisfaction.
Understanding the common pitfalls helps you approach projects more strategically. Instead of being surprised by rising costs, you can anticipate them and plan accordingly.
DIY success isn’t just about creativity—it’s about preparation, patience, and smart decision-making.
When done thoughtfully, DIY can transform both your home and your confidence as a homeowner.